Did you know that 37% of mobile users prefer mobile Commerce over in-store shopping? The growth of smartphone and tablet shopping is expanding every year, and it’s time for just about every company to take a hard look at how they can start selling products or services through mobile apps with paypal account login.
Luckily, iBuildApp has a flexible feature called Catalog with paypal payments to accept credit cards where you need account login. You can add products, import a product list, connect your payment options and start selling based on your own preferences and needs. The idea is simple: You can categorize your products for an easy shopping experience, and include images for each of these categories that link to product pages and shopping carts.
The cool part is that the feature allows you to accept credit cards and paypal payments with paypal account login with small fees.
This is a one feature solution for anyone who needs a mobile shop, checkout and catalog combined into one.
Here’s what we’ll cover for the Catalog with Checkout feature:
How to Add the Catalog with Paypal Account login and Import CSV
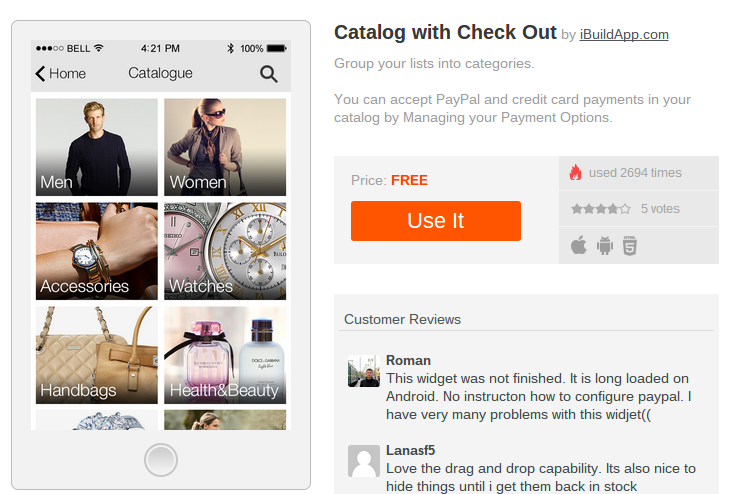
Navigate to the Catalog with Checkout setup page, and click on the Use It button. If you’re not already logged into your iBuildApp account, go ahead and get logged in. Then walk through the steps to choose the app you want to use and implement the feature in the Manage Content area.
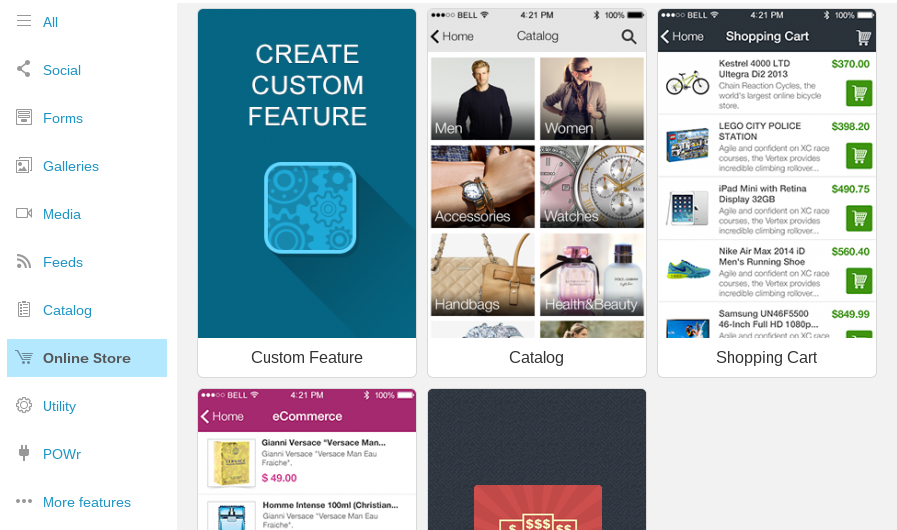
When searching for the Catalog feature you can find it under the Online Store category.
Adding Content to Your Catalog or Shop
Option 1: Importing Your Product from Magenta
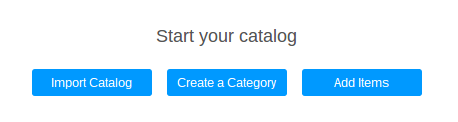
If you already run an eCommerce website supported by the Magenta platform, you have the opportunity to import all of those products. In the Manage Content area, click on the Import Catalog button.
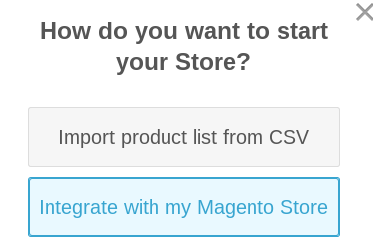
Click on the Integrate with my Magento Store option. Click OK on the next popup.
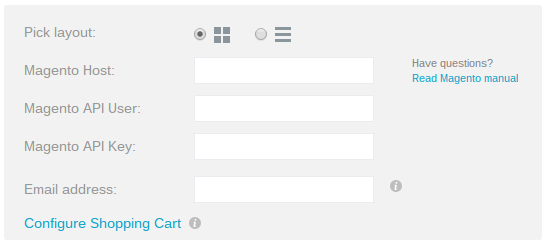
Fill in your Magento store details including the Magento Host, API User, API Key and Email Address. You can find all of this on the backend of your Magento store. Shopify has a handy guide for making roles and grabbing the keys. After that, your Magento products pull into the mobile app.
Option 2: Importing Your Product Using a CSV
If you have a CSV spreadsheet with your products, go to the Manage Content area to find the Start Your Catalog header. Click on the Import Catalog button.
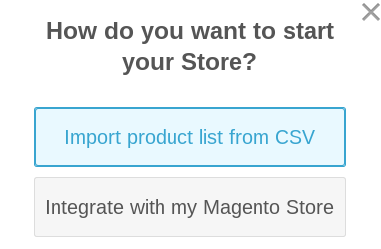
Select the Import Product List from CSV option to move on.
Your computer opens up your local files, so it’s important to know exactly where you saved your product list on the computer. Since this is your own custom list, iBuildApp doesn’t assist you in generating it at all. However, we recommend building your CSV file with titles in the top row. Fill in the information below these titles based on the products you have. Import CSV.
What fields are suggested for importing into a mobile app?
- – Name
- – Description
- – Price
- – Image (This image must be hosted on a website and the URL needs to be placed in the appropriate CSV field)
Select the CSV file that’s saved on your computer. Keep in mind that you can create a CSV file by using Excel and saving that sheet under the CSV (comma delimited) format.

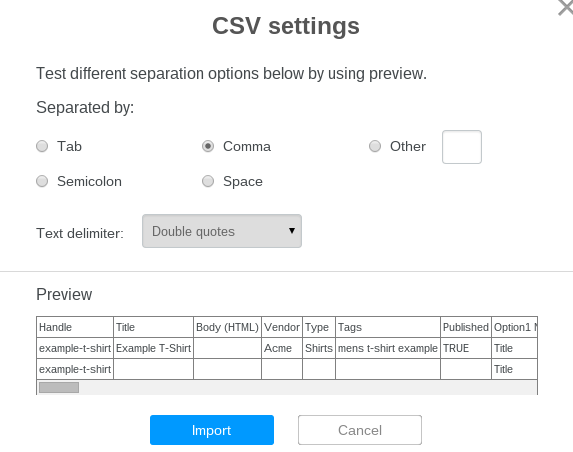
Once your CSV file is uploaded to the iBuildApp system, select how you want to separate the fields in your file. I typically find that the Comma option works best, but you should play around with it until you see that the preview is separating your items with boxes. Click on the Import CSV button when done.
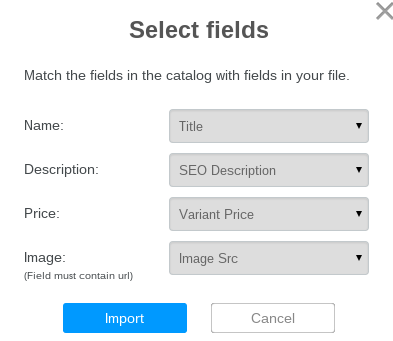
The next step is where you specify which of your fields correspond with the default Catalog import fields. As stated above, these include Name, Description, Price and Image. If you create your CSV file with the same headers, matching them up becomes easy. In my screenshot below, you can see that the CSV file contains different header names, so I have to match them up correctly. Click on the Import CSV button once you’re done.
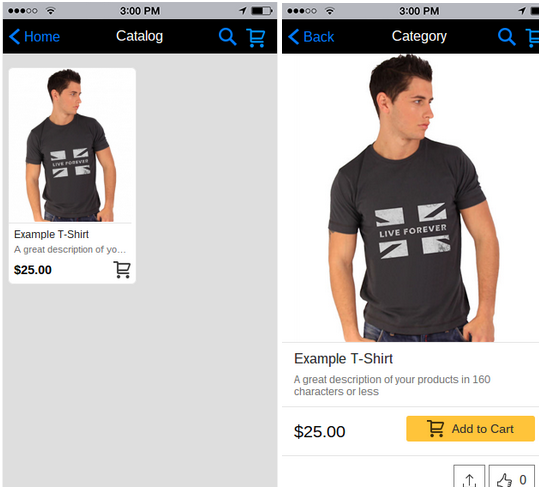
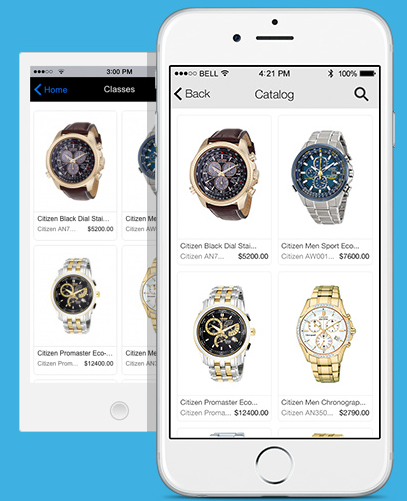
After that, your list is completely imported into the mobile app (Import CSV). You should be able to see the image, title, price and description in your mobile app preview.
To the left of the preview sits an area for organizing your categories and moving around your products. Feel free to use the drag and drop functionality to make this look the best it can.
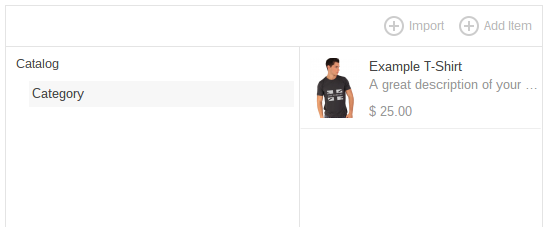
I only did Import CSV of a single product only, but the idea is to bring in a large collection of your items. As you can see in the image below, the import typically results in several products automatically showing up in your Catalog, which in turn, can be sold to your customers once you setup the payment settings with paypal account login.
Option 3: Add Your Product Manually
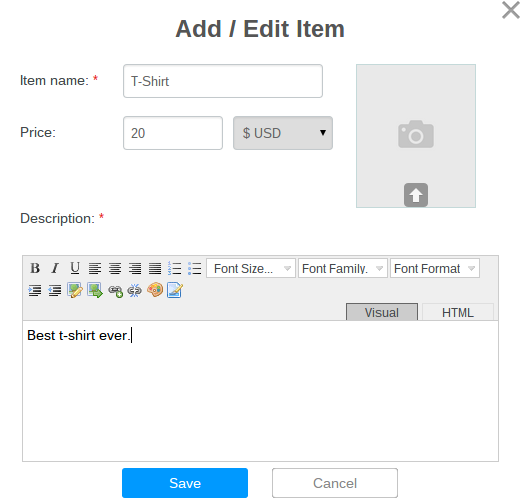
Let’s say you don’t have Import CSV list or Magento store, and you want to add your products manually. In that case, under the Manage Content area, click on Add Items.
Add a product title, price and description. Upload a product photo if you have one. Click on the Save button to place that product in your store. Repeat this for the rest of your products, and feel free to organize them into categories.
Setting Up Cart Options with paypal account login
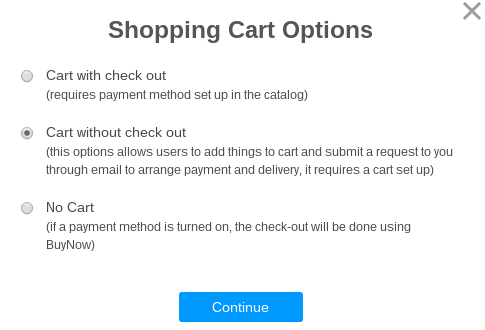
The cart options give you a choice on how to accept payments from your customers. In the Manage Content area, click on the Shopping Cart Options button to reveal all three solutions.

Option 1: Multi-product Checkout with paypal login
The multi-product checkout is listed under the Cart with Checkout box. This requires you to setup your payment methods such as Paypal with login in the catalog. It allows customers to place multiple items in their cart and checkout with the specified payment option with small fees..
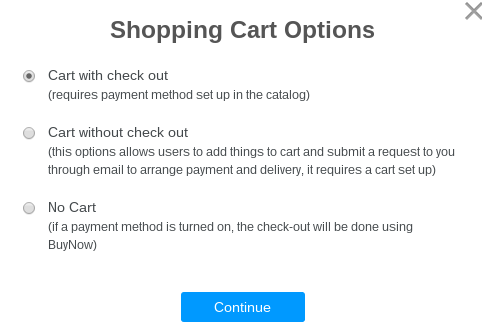
Upon selection, the system automatically sends you to the PayPal and credit card setup page, which is covered in the Managing Your Checkout section of this tutorial.
Option 2: Buy Now
Another payment option is to have no cart at all. Select the No Cart button, which provides no shopping cart checkout tool for your customers. In a sense, this offers a catalog of your products, but no ability to store the products in a shopping cart or checkout.

Keep in mind, however, that if you do turn on a payment method, customers will see a Buy Now button, meaning they can purchase products individually. Click on the Continue button to activate this.
Option 3: Accepting Orders Without Payment
The third option is the Cart Without Checkout tool. Select this solution if you would rather your customers choose products to place in their cart and send you an email once done. The email is a way for them to show what they are interested in and arrange payment and shipping through the message. Choose the Cart without Checkout button to get started. Click on Continue.
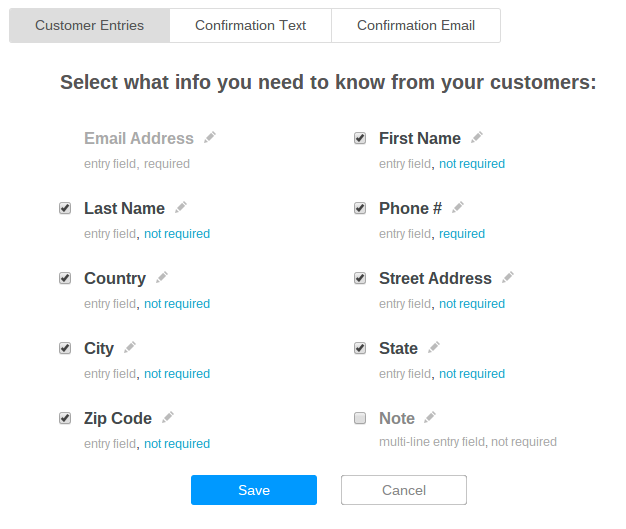
Choose the customer information fields you want to require during the checkout.
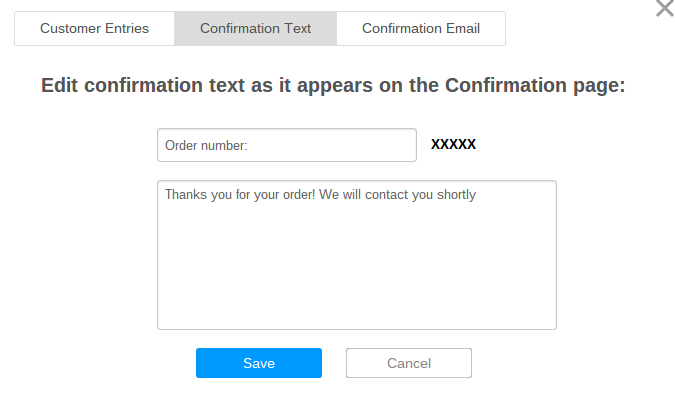
Click on the Confirmation Text tab to modify the text that customers receive when they submit an order email.
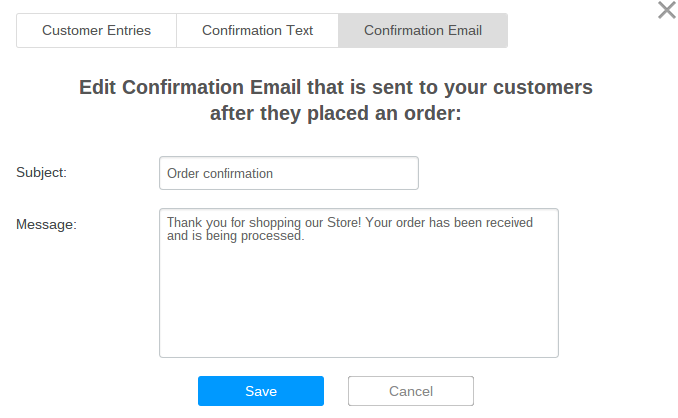
Select the Confirmation Email tab to modify the confirmation email that is sent out when the entire order is processed and confirmed. Click on the Save button to complete the Cart without Checkout payment option if you don’t have Visa, Matercard cards or bank account.
Managing Your Checkout
Option 1: Accepting and Setting Up PayPal
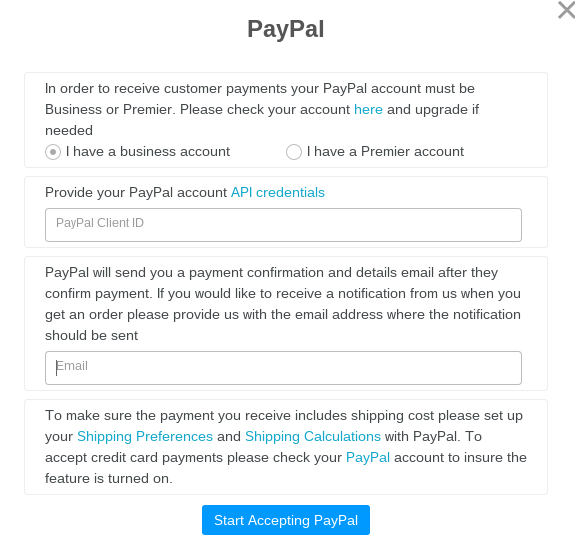
To add options for PayPal payment acceptance, go to the header called Settings. This is still located under the Manage Content area. Click on the Manage Payment Option button.
This new popup page asks you to fill in a few fields. The first one is asking whether you have a Business or Premier PayPal Login account. One of these is required in order for the Catalog with Checkout feature to work properly. Select which of those two you have, and type in your PayPal client ID in the field below. There is a link to look up your API login if needed.
The final field is for you to type in an email address. One of the nicest features in the Catalog with Checkout module is the ability to receive an email whenever someone buys a product through your mobile phone. When you type in your email address, the system sends you an email whenever a purchase is made. Click on the Start Accepting PayPal button when you’re done.
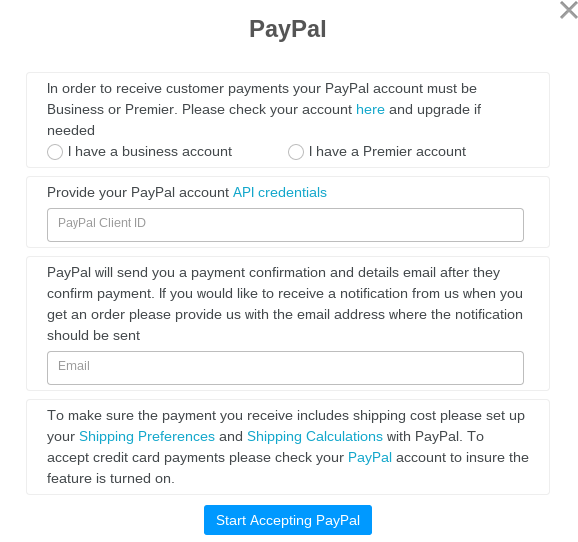
Keep in mind that PayPal has various settings that generally need configuring before accepting payments through a mobile app. For example, to ensure that the payments include shipping costs, go to the Shipping Payments and Shipping Calculations pages to activate these PayPal settings.
Option 2: Accepting Credit Cards
If you would like to accept credit card payments, check to see if you PayPal account is setup for these transactions. All credit card acceptance tools are controllable through your PayPal account, so nothing has to be done through the iBuildApp website, except the PayPal account configuration.
Conclusion
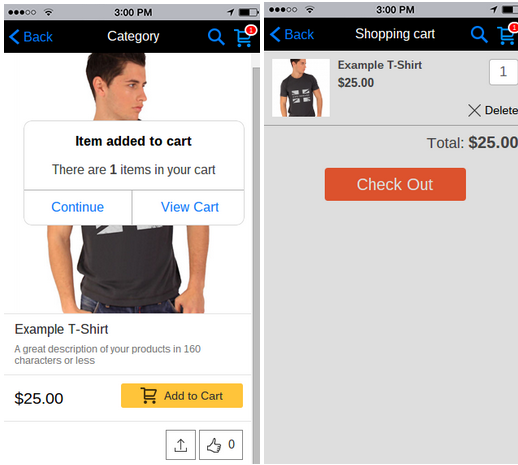
Once your content is added, your cart options are completed and your checkout is setup, your customers can go to your Catalog, browse through your categories and products, and add items to their shopping carts. Once they are ready, they can view the cart, click on the Checkout button and fill in their PayPal account or credit card information to make the purchase.
That’s it for using the Catalog with Checkout feature such as Paypal account login on your mobile app! Let us know in the comments if you have any problems with this process.